Stereo upgrade
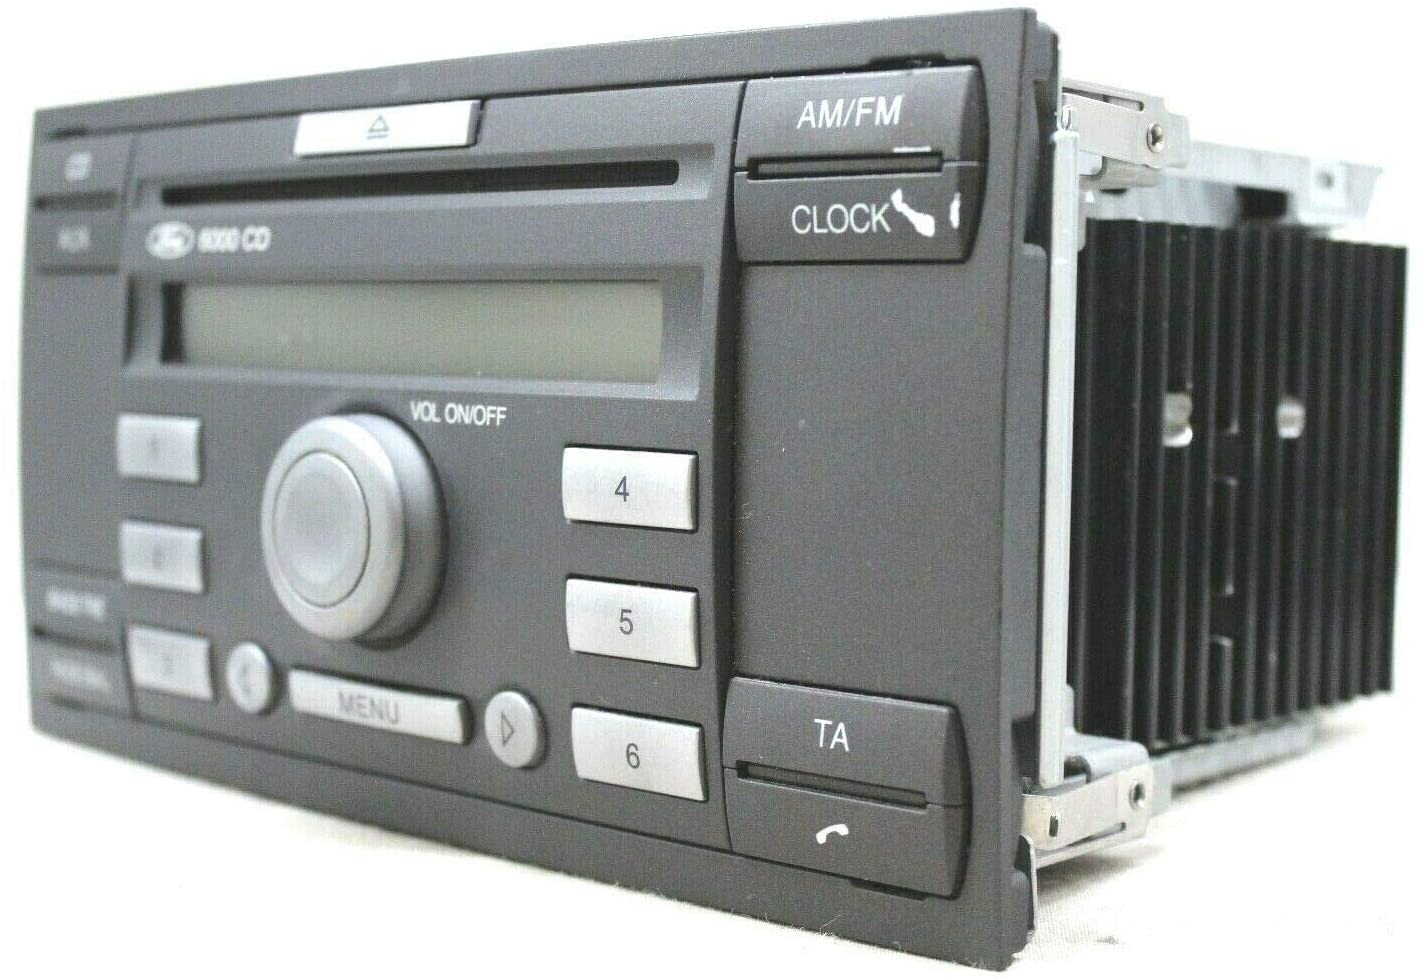
Having a 2011 motorhome with a Ford Transit base, the standard stereo (6000CD) is now getting a bit old and lacking in features.
After much thought I’ve decided on the first big van upgrade and to replace this with a modern unit which does Apple CarPlay (and Android for future proofing) and has a DAB radio.
I’ve chosen the Pioneer SPH-EVO64DAB supplied by Dynamic Sounds and the Ford kit to fit to the van. There is a 9″ version, the SPH-EVO93DAB but I didn’t see the point of spending an extra £300 just for the larger screen. My eyesight isn’t that bad yet!
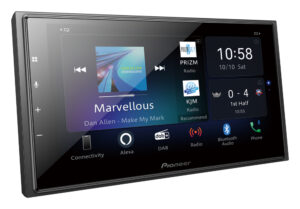
As of writing, the EVO64 is one of the latest units on the market. There are plenty of others but most have been around 2-3 years and this one comes with built-in WiFi for OTA updates and also wireless CarPlay.
Installation
The fitting kit made it very simple to install the new head unit as it interfaces with the existing wiring which means one plug connection to the van system and one for the aerial connection.
You’ll need the removal keys to get the old stereo out. First, disconnect the power; I removed fuse 73 from the fuse box. To find the fuse box, it’s hidden behind the relay box behind the glovebox, take a look at this video…
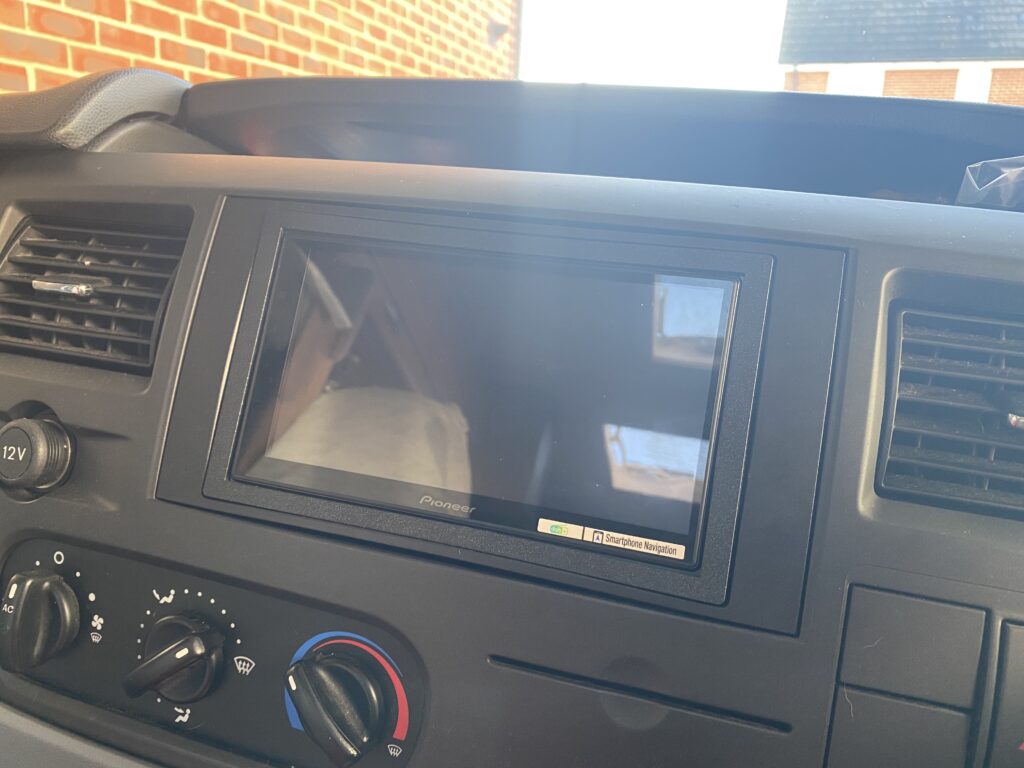
Fit the cage to the new head-unit, plug in all the connections you need. In my case, that’s the original van connection, the connects2 unit to use the sheering wheel controls, the GPS aerial, USB connection, Microphone, DAB antenna, Aux connection and standard aerial. That’s a lot to pass through the back of the dash so I removed the top storage boxes (they just pop out) and passed the cables through the back of the space behind the head-unit.
The new new head-unit is shorter that the old, so I managed to fit all the connection into the space behind.
Pop the fuse back in, turn the ignition on, and away you go.
To Do
Two little jobs to do at some point…
Re-route the DAB aerial lead under the dash as it’s currently going from the pilar to behind the passenger storage box over the top of the dash.- Connect the downward pointing rear-view camera to the head unit so when in reverse, I get to view both cameras.